![<?echo $_SERVER['SERVER_NAME'];?>](/template/twentyseventeen/skin/images/header.jpg)
1. Introduction of the Cloth Cutting Machine :
1. The machine is equipped with a round knife and plate kapoor (cloth) motor that uses frequency control, allowing for arbitrary speed adjustment and positive/negative switching control, ensuring no sticking of the blade.
2. It features an automatic sharpening system, eliminating the need to remove the blade for grinding. The machine uses a diamond grinding wheel, saving time and cost. It also includes aspiration filling, cleaning cloth, and a knife-cutting function to keep the cutting area clean and efficient.
3. The machine is controlled by an imported PLC programmable controller, enabling automatic cutting. Users can directly set various cutting widths and quantities, improving cutting accuracy. It also saves electricity parameters automatically and allows for easy recall. The precision is up to 0.1 mm, reducing defects and achieving high-quality cuts.
4. The interface uses a Chinese LCD display, providing a user-friendly man-machine interface that saves time and simplifies operation. It allows users to set different cutting widths and quantities directly, with options for manual or automatic mode conversion, making it suitable for all workers.
5. The design includes a triangular vertical bracket, allowing feeding and discharging in one step, making the process more convenient and efficient.
6. The machine is equipped with an emergency stop button, ensuring safe operation in case of circuit issues or abnormal operations.
2. Technical Parameters:
| Model | HT-CF200 |
| Voltage | 220V |
| Power | 3kW |
| Minimum Cutting Width | 5mm |
| Diameter of Cloth Shaft | 37mm |
| Speed | 0-1440rpm |
| Dimension | 2850*800*1400mm |
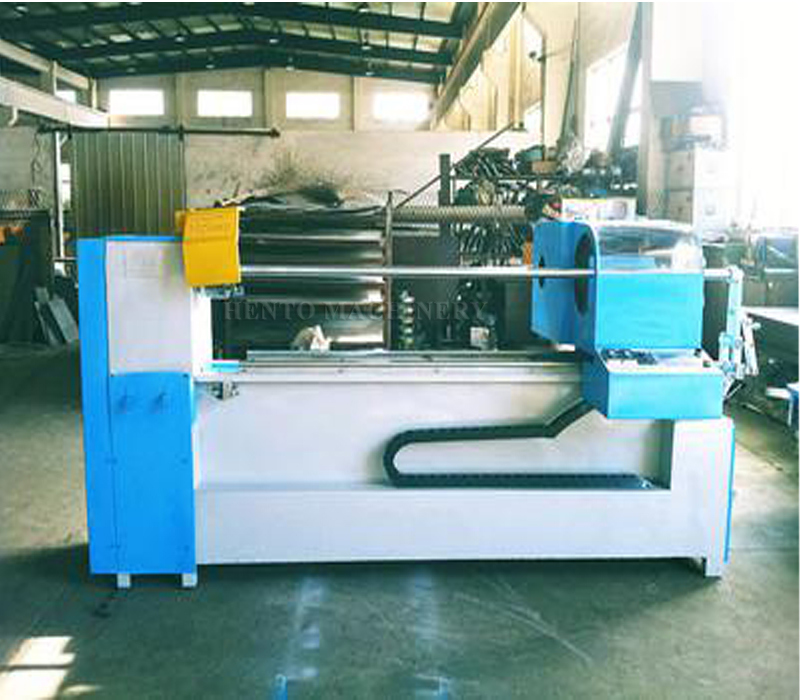
3. Machine Pictures:
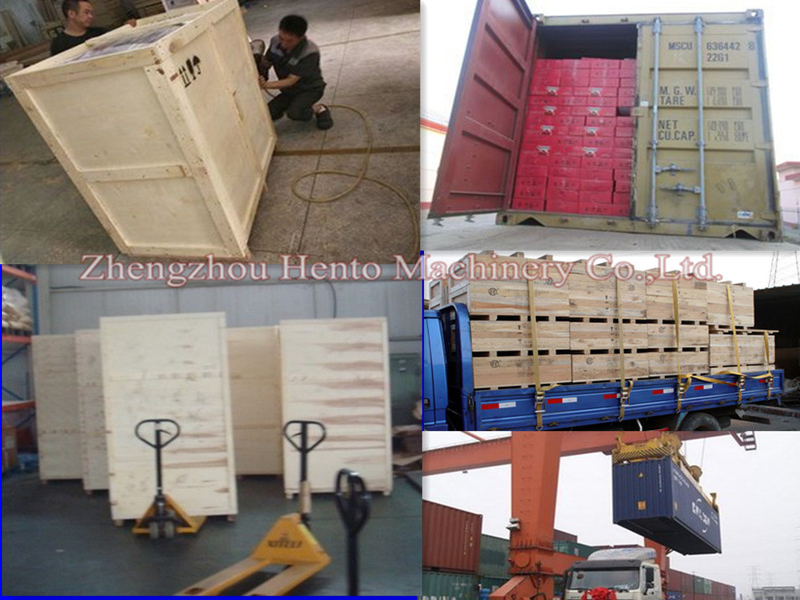
4. Packing & Delivery:
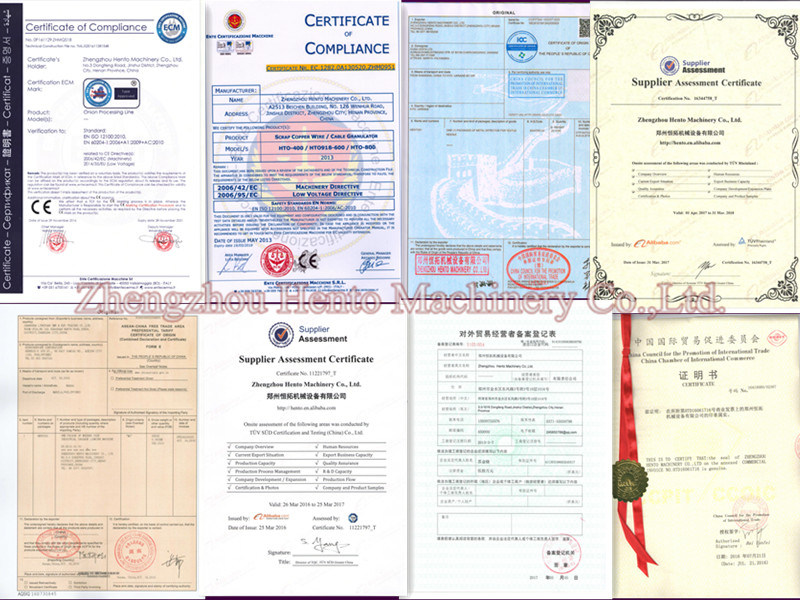
5. Company Certificates:
6. Our Customers:

7. Contact Us:
If you need further information, please contact us freely. We will do our best to cooperate with you and provide the best service possible.
Reading Braille:
1. Familiarize yourself with the Braille alphabet, which consists of six dots arranged in two columns of three dots each. Each dot or combination of dots represents a different letter, number, punctuation mark, or special symbol.
2. Place your fingertips lightly on the Braille text, typically on a page or surface made specifically for Braille.
3. Feel the dots with your fingertips and identify the patterns to determine the corresponding letters, numbers, or symbols.
4. Move your fingertips systematically across the Braille text, reading from left to right and top to bottom, just like reading regular text.
Writing Braille:
1. Learn the Braille alphabet and practice writing each letter, number, punctuation mark, and special symbol.
2. Use a Braille slate and stylus, which is a tool specifically designed for writing Braille. The slate has rectangular openings to hold the paper, and the stylus is used to press the dots onto the paper through the openings.
3. Place a piece of Braille paper or cardstock into the slate, ensuring it is aligned properly.
4. Hold the stylus like a pen or pencil and press the appropriate dots onto the paper, one at a time, following the Braille alphabet.
5. Lift the stylus after each dot is pressed to avoid smudging or blending the dots together.
6. Continue writing the desired text, moving from left to right and top to bottom on the paper.
7. Review your writing by feeling the dots with your fingertips to ensure accuracy.
It is important to note that learning Braille may require time and practice, as it is a tactile skill that requires the ability to distinguish between the different dot patterns. However, with dedication and persistence, individuals can become proficient in reading and writing Braille.
Braille Instructions,Braille Alphabet,Braille Printing,Braille Packaging Box
Shanghai Caide Printing Co.,Ltd. , https://www.caideprinting.com